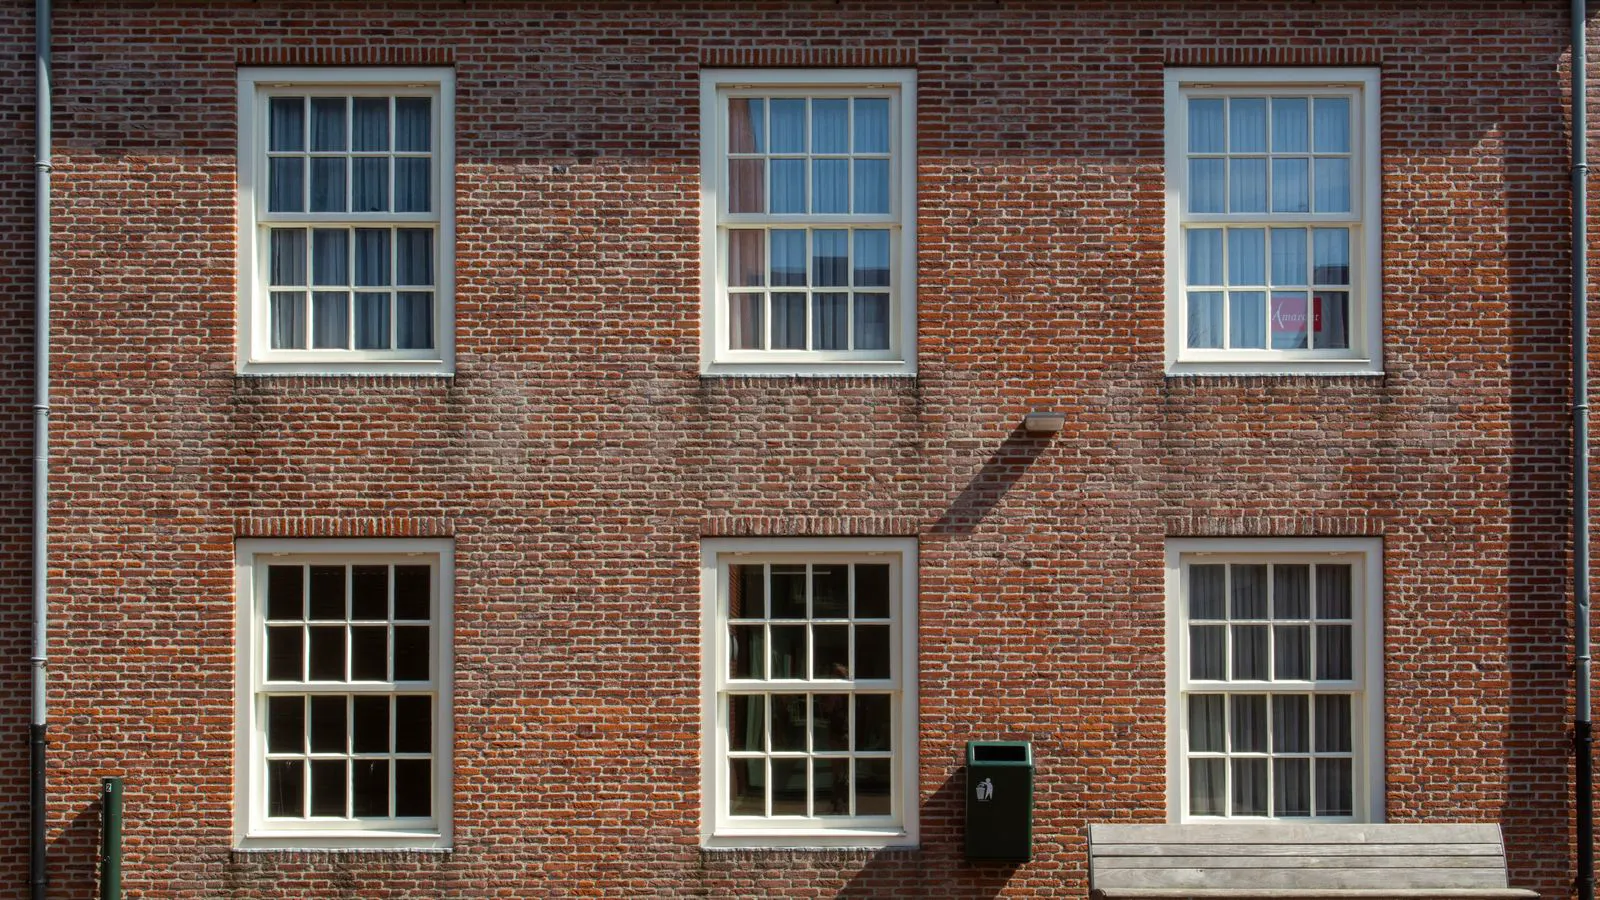
Verify uPVC window profiles by checking thermal ratings, multi-chamber counts, wall thickness, and hardware compatibility. This checklist helps procurement managers confirm structural integrity and energy efficiency before sourcing.
- Inspect the number of thermal break chambers and wall thickness before approving a supplier sample.
- Confirm the profile meets relevant local building regulations for structural rigidity and fire resistance.
- Check that the hardware system is compatible with the specific profile design to avoid future maintenance issues.
- Request third-party test reports for air tightness and water resistance rather than relying on manufacturer claims alone.
- Standardize on one profile series across the project to simplify future replacements and spare parts.
Why Profile Quality Drives Long Term Performance
uPVC window profiles determine how well a window performs in the field. The profile is not just a frame. It controls heat transfer, water ingress, and the structural support for the glass and hardware. When procurement teams skip this check, they often face warranty claims years later.
The difference between a standard profile and a high performance profile is rarely visible to the naked eye. It shows up in the cross section, the thermal bridge, and the fit of the moving parts. This checklist focuses on the physical and technical attributes that matter during sourcing.
Structural Integrity and Material Composition
Start with the material itself. uPVC, or unplasticized polyvinyl chloride, is the base polymer. The quality of the resin and the additives used during extrusion affect the long term stability of the window. Ask the supplier about the source of the raw material and whether the profile is made from a single consistent batch.
Check the wall thickness. A profile that is too thin can flex under wind load. A profile that is too thick without proper chamber design can trap heat in the frame. Standard residential profiles typically fall within specific thickness ranges, but commercial or large format applications require thicker walls to maintain rigidity. Look for profiles with a uniform cross section. If the walls taper or thin out at the corners, the profile is likely to warp as it cools during extrusion. This creates stress points that crack over time, especially in regions with large temperature swings.
Checklist:
- Verify the polymer type and grade.
- Confirm the minimum wall thickness for the specific application.
- Ask about the stabilizer package used to prevent UV degradation.
- Check for consistency in color and surface finish across the batch.
Red flags:
- Profiles that feel brittle when tapped.
- Inconsistent surface texture that suggests poor extrusion control.
- Suppliers who cannot provide material safety data sheets.
Thermal Performance and Chamber Design
Thermal performance is the most common reason for procurement disputes. The profile must act as an insulator between the warm interior and the cold exterior. The design of the internal chambers is what achieves this.
Count the chambers. More chambers generally mean better insulation, but the shape and placement of the chambers matter as much as the number. A single large chamber is less effective than multiple smaller ones that create a tortuous path for heat. Look for profiles with internal air pockets that are sealed during the extrusion process. If the chambers are open or connected by large gaps, heat transfer increases significantly.
Consider the thermal break. A basic plastic break relies on the low conductivity of the polymer. A multi-chamber or composite break uses additional barriers to reduce the heat bridge further. Composite breaks often incorporate aluminum or other metals, but the design must prevent the metal from touching both the inside and outside surfaces. If it does, the thermal performance degrades rapidly.
Thermal Performance Table
| Feature | Low Spec | High Spec |
|---|---|---|
| Chambers | 3 or 4 | 5 or more |
| Thermal Break | Basic plastic | Multi-chamber or composite |
| U-Value Target | > 2.0 W/m2K | < 1.3 W/m2K |
| Condensation Risk | Higher | Lower |
| Energy Cost | Higher | Lower |
Red flags:
- Profiles with visible gaps between chambers.
- Manufacturers who cannot provide a U-value calculation for the specific profile.
- Profiles that show signs of “sweating” or condensation on the interior during cold weather tests.
Hardware Compatibility and Fitting Tolerances
The profile is the skeleton. The hardware is the muscle. If the profile tolerances are off, the hardware will not close properly. This leads to drafts, stuck windows, and rapid wear on the locking points.
Check the cross section for the hardware tracks. These are the grooves where the slide and lock run. They must be precise. A slight deviation in the extrusion can cause the window to bind. Ask the supplier to provide a sample with the hardware installed. Test the operation repeatedly. Push the window open and closed at least ten times in the sample. Listen for grinding or clicking sounds. Feel for resistance. If the sash sticks, the tolerances are likely too tight. If it feels loose, the clearance is too wide, allowing water and air to bypass the seals.
Checklist:
- Verify the hardware brand and model compatibility.
- Check the clearance between the moving sash and the fixed frame.
- Test the locking mechanism for smooth engagement.
- Inspect the gasket seating area for consistent depth.
Red flags:
- Gaskets that do not sit flat in their channels.
- Locking points that require excessive force to engage.
- Surface finish on the hardware tracks that is rough or uneven.
Air Tightness and Water Resistance
A window that leaks air or water will fail its primary function quickly. The profile must seal against the weather. This depends on the design of the parting bead and the gasket system.
Check the parting bead. This is the plastic strip that separates the two sashes and holds the gaskets. It must be flexible enough to compress and rigid enough to hold the gasket in place. A brittle parting bead will crack over time, especially in cold climates. Look for beads made from a flexible polymer blend. If the bead is stiff, it will not conform to minor variations in the sash movement, creating gaps where air and water can enter.
Water resistance is tested under pressure. Ask for test reports that show the performance level. Standard tests involve simulating wind pressure and water flow. The profile must not allow water to migrate into the interior. Check the drainage paths. Good profiles have channels that direct water away from the glass and out of the frame. If the channels are blocked or poorly shaped, water will accumulate and rot the wood in surrounding structures or damage the building fabric.
Red flags:
- Gaskets that are made of a material that hardens in cold weather.
- Profiles that show water marks on the interior side after a leak test.
- Suppliers who refuse to provide test certificates.
Aesthetic Finish and Durability
The finish determines how the window looks over time. uPVC profiles can be white, cream, or tinted to match other building materials. The finish must be resistant to UV radiation and impact.
Check the coating method. Some profiles are painted, while others are extruded with color. Extruded color is generally more durable because the color is part of the material. Painted finishes can chip or fade if the primer is poor quality. If you choose a painted finish, ask about the primer type and the topcoat thickness. A thin topcoat will wear down quickly in high traffic areas.
Ask about the surface texture. A matte finish hides dirt better than a gloss finish. However, a gloss finish is easier to clean. Choose based on the maintenance requirements of the building type. For commercial buildings with high foot traffic, a matte finish may require less frequent cleaning. For residential buildings where aesthetics are a priority, a gloss finish may be preferred, provided it is high quality.
Checklist:
- Verify the finish type (extruded vs. painted).
- Check the color stability rating.
- Inspect the surface for pinholes or bubbles.
- Test the scratch resistance with a fingernail.
Red flags:
- Color that differs significantly between the frame and the sash.
- Surface that feels rough or has visible grain.
- Profiles that show signs of peeling at the edges.
Documentation and Compliance
Finally, ensure the paperwork supports the physical product. Every profile system should come with a set of documents that prove its performance. This includes test reports, material declarations, and installation guidelines.
Check that the profile meets local building codes. Some regions have specific requirements for fire resistance, acoustic performance, and structural load. A profile that meets a European standard may not meet a North American standard. Verify the relevant standards for your project location. Ask for the certification body that issued the approval. Reputable certification bodies are independent and have strict auditing processes. If the certification is self-declared, verify it with the issuing authority.
Request the manufacturer’s warranty in writing. Note the duration and the conditions. Some warranties are void if the window is not installed according to the manufacturer’s specifications. Read the warranty terms carefully. If the warranty requires specific installation methods, ensure your contractors can meet those requirements. If the warranty is short, consider whether the profile is suitable for the expected service life of the building.
Red flags:
- Missing or outdated test reports.
- Warranties that are verbal only or not in writing.
- Documentation that does not match the physical sample.
Final Verification Steps
Before signing the contract, perform a final walk through of the checklist. Bring a sample to the site and compare it against the installation drawings. Check the profile depth, the chamber count, and the hardware fit.
Do not rely on marketing claims. The data in the test reports is the truth. If the supplier cannot provide the data, walk away. A low price today can cost much more in repairs and energy bills tomorrow.
Keep a record of the batch numbers for the first installation. If a problem arises, you need to trace it back to the specific material lot. This is your best defense in a quality dispute.
Frequently asked questions
What is the difference between a single chamber and multi-chamber profile?
A single chamber has one internal air pocket. A multi-chamber profile has several, which creates a better insulating barrier and reduces heat transfer through the frame.
How do I know if the uPVC profile is structurally sound?
Check the wall thickness and the rigidity of the frame. A well made profile should not flex under normal hand pressure. Ask for the structural test report if available.
Can I mix different profile systems in one building?
It is possible, but it complicates maintenance. If you need to replace a window later, you may have to buy the old system. It is better to standardize on one profile type for the entire project.
What is the best finish for high traffic areas?
A matte extruded finish is generally more durable and hides dirt better than a gloss painted finish. However, the best choice depends on the specific cleaning method and environment.
Do I need to check the gasket material?
Yes. The gasket is the seal. If the material hardens or cracks, the window will leak. Look for a flexible elastomer that remains pliable in cold weather.